Showing posts with label Moby wrap. Show all posts

Monday, July 1, 2013

Fauxby Wrap

I love my Moby. It's a little warm, as is wearing baby using any carrier/wrap/sling. I have been raving about the joys of babywearing to a friend of mine for weeks. The best part is that I get to keep my wild thing close AND use both of my arms. I'm going to be honest...after the first few weeks of sitting on the couch staring lovingly at my wild thing while holding him, I needed to get up and do stuff. Happy baby and happy mommy. Awesome possum!

The other day we decided to make our own. We watched a few how to videos. None of them were very specific on the fabric to use. Jersey knit was all we got. At Jo-Ann we ended up selecting a poly-cotton blend. Not the most natural fabric but it had nice stretch and was thinner than my current Moby.

My Moby is a little short and I can't tie it in the front like all of the tutorials. (READ: I feel like a fatty.) It's also very uncomfortable to tie in the back, especially if you're riding in the car. Someone suggested that bigger or taller girls should get 5 1/2 or 6 yards. We got 6 and it feels like miles and miles of fabric. I'm 5' 9" and my friend is a little bigger. For anyone buying fabric I recommend buying more and cutting it down to your size. That way you don't end up tying it in the back by default and, like me, feeling like a super fatty.

I thought about making a pocket at one end to hold some miscellaneous items. We'll see if I get ambitious. The cool thing is that there's no sewing involved in making the basic wrap. I got an iron-on patch to mark the center, which makes it way easier to wrap up.

The Money: That's what we all want to know, right? A standard Moby is $47-ish. It was about $50 for the fabric and patches. We made 2 wraps, although you could probably get 3. My friend and I split the cost. So, the wrap was about $25. A little tip...use a coupon. The fabric was $9.99/yard, but we had a 40% off coupon for Jo-Ann.

Saturday, June 22, 2013

Adventures in Canning

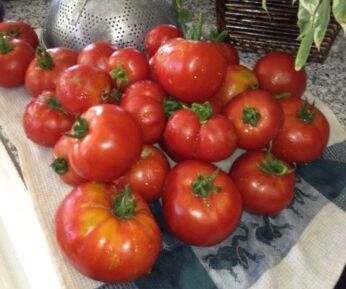
Let me start by saying that I am not now, nor have I ever been, a farmer. Neither am I Susie Homemaker. I buy food at the grocery store and frequent restaurants. My repertoire of recipes is limited. Canning is a new adventure for me. Several years ago when my father and I planted a small garden. My grandmother suggested canning to us. We laughed! Each year we had an overabundance of veggies because of the fertile soil (READ: horse poop). While we have the best of intentions when it comes to eating the crops, they continue to rot on the vine. Today, we finally tried our hand at canning tomatoes. Here is part of this year's crop.
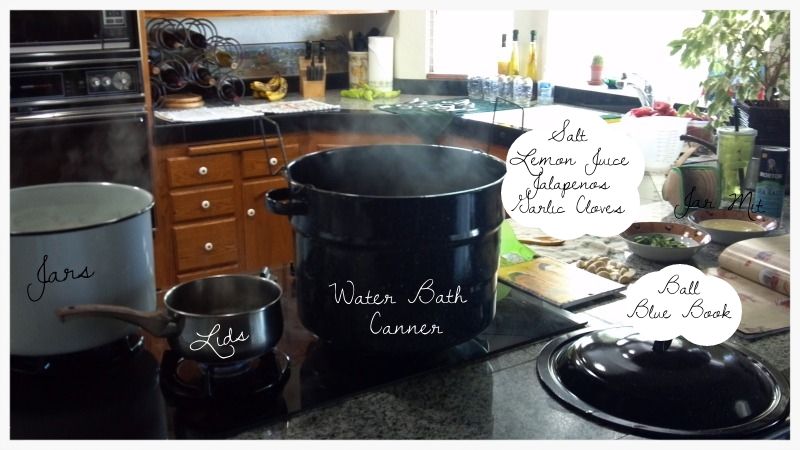
While many would say it's relatively simple, there's a lot involved. Some of the items we learned to use quite laughably. I tried to use the jar thongs upside-down. Oops! And I had to squeeze lemons for the juice, since we forgot it at the store.
While most of our skill was developed by trial and error, in addition to a heavy reliance on the Ball recipe book. We also had a little help from another blog that I found, called The Yummy Life. This blogger is much more skilled than I am. Holy cow! It took both of us to successfully include everything in each jar and make sure we followed the steps. The last thing we wanted was to fail miserably.

Shortly after we began (Okay...it was actually an hour. That's really good for him.), my wild thing needed attention. He was no longer satisfied to hang out in his bouncer and watch as us fumble through blanching and peeling tomatoes. He wanted to be in on the action. I wrapped him up in my Moby and wore him. He promptly fell asleep for the next 2 1/2 hours. :) For those of you who don't know...babywearing is awesome! I can satisfy my wild thing AND have the use of both my arms. (But I'll go into that another time.)

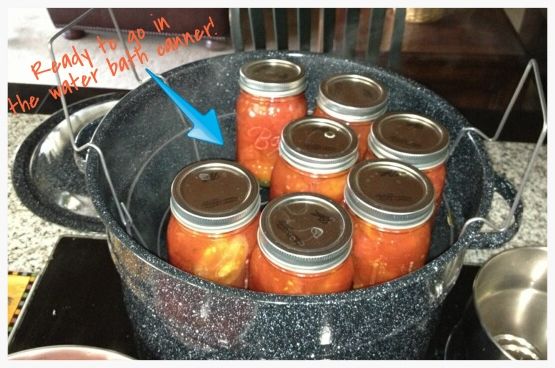
Jar, lemon juice, garlic clove, jalapeno slices, tomatoes, juice, remove air, measure space, sea salt, lid...repeat. Turns out we had way more tomatoes than we anticipated and ended up needing to do two batches. With a 40 minute processing time in the water bath, we took a lunch break and barely got motivated to finish our project. My dad is the kind of guy who likes jobs to be quick and painless. I think this was more than he bargained for.
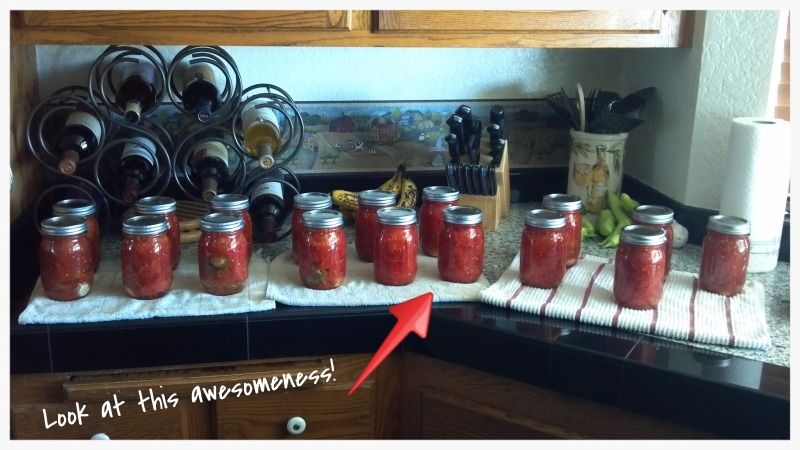
Four hours and 17 jars later...

The jars came out of the water bath and we were so excited each time we heard the pop of a lid. Pop. pop, pop! They were sealing. Yay us! We proudly announced to my wild thing that we were skilled canners prepared to take on apples and banana peppers and jalapenos. Oh my!
Wish me luck! ;)